
Anyone working in IT, particularly in the consulting space loves home labs. Some people dedicate entire closets in their house, even rooms to running server racks, random IoT gadgets, and desktop computers from across the ages. I myself stay pretty minimal with a simple K8 Nucbox running Ludus for all my lab needs but one big problem arises with this setup. I have to be well... home to use it. While I generally always work remote and rarely travel for onsite work, this is always subject to change. I am also one of those people who can not seem to not think about work at some point even on vacations, sometimes having random ideas or wanting to tinker with something on my down time while away. I wanted to change this though so I started reading around on various solutions but nothing really looked painless to setup in the manner I was looking for. Until I found https://nebula.defined.net/docs/ which piqued my interest. I watched the 90 minute talk of architecture and demo example, excited to see if this would work.
TLDR: It does and it's awesome! Let me show you how to get up and running with Nebula!
Prerequisites - What will you need?
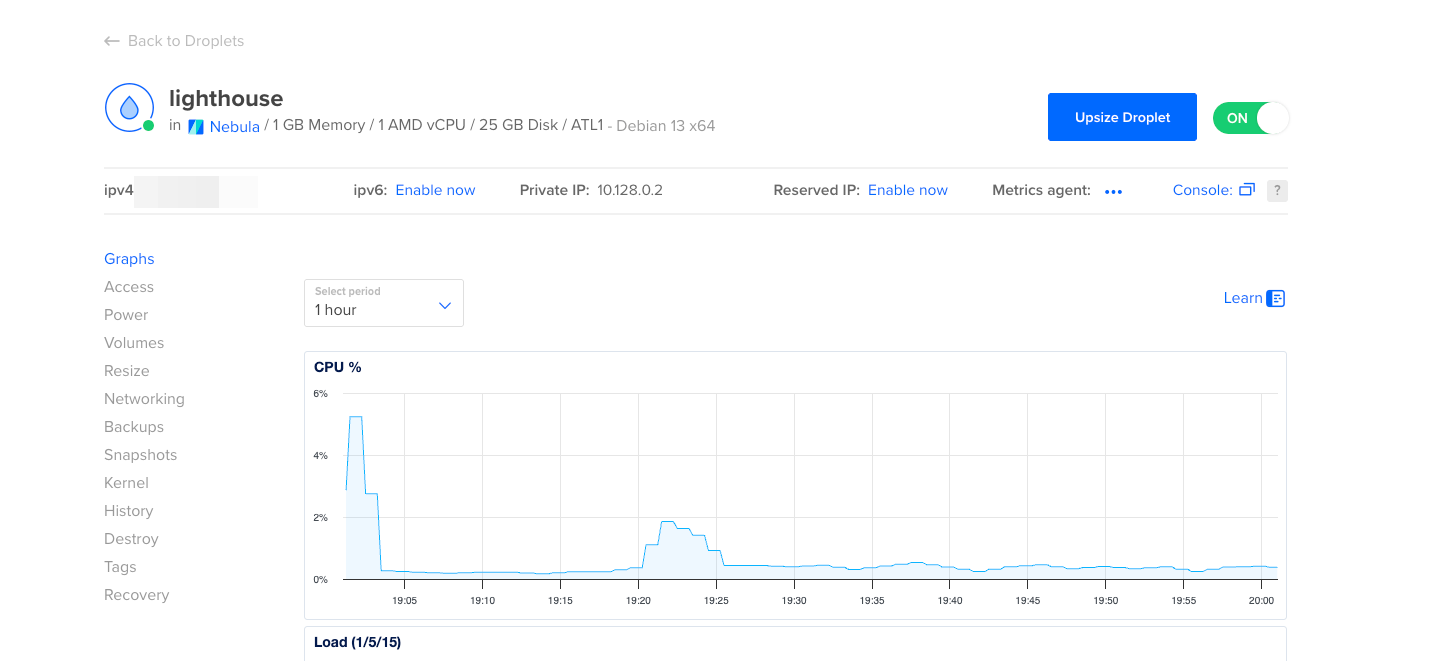
Nebula is open-source so no worries on needing buy software licenses and they have very helpful documentation. The only thing you will need is one routable internet server to act as they call a "lighthouse". This host will bridge together all other hosts in the network. The resource requirements for this are pretty minuscule. You can use a EC2 mini or in my case a $8 DigitalOcean droplet. You can add any required firewall rules to meet your security needs, just ensure UDP/4242 is exposed to any hosts you plan to connect in.
Next you will need to get Nebula. While it is available in the main package managers, you will specifically need the release version of nebula-cert from Github. This binary is what builds out the CA requirements and certs for the hosts you plan to add while the nebula binary is the actual tool connecting to the lighthouse via the provided configuration file.
Setting Up the Lighthouse
We will first start off with setting up the lighthouse on the droplet I have created. SSH in and perform the following:
wget https://github.com/slackhq/nebula/releases/download/v1.9.7/nebula-linux-amd64.tar.gz
tar xvf nebula-linux-amd64.tar.gz
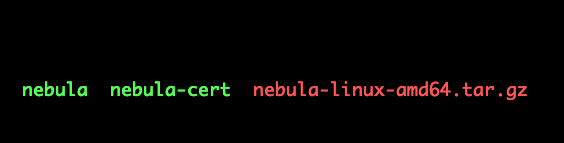
You should have two binaries in the current directory. You can also do a sudo apt install nebula for Debian users to install from the repos if desired but this will not contain the required nebula-cert binary.
Next order of business is establishing the CA using nebula-cert
You'll want to run ./nebula-cert ca -name "YourNameofChoice" which will create the root ca.crt and ca.key files. The ca.key file is the most important file here and should never be transferred to any of the intended hosts. Lock it away somewhere safe as it is what is used to sign the certs for all hosts configured to join the Nebula network. Once this is completed, you can begin creating the configuration files for the lighthouses and hosts along with generating their respective certificates. You can get an example configuration file here:
curl -o config.yml https://raw.githubusercontent.com/slackhq/nebula/master/examples/config.yml which you will then copy into lighthouse-config.yml and config.yml . There are a lot of options and settings to tinker with here, which I will not get into with this post but I will go over the needed changes to get things rolling.
Next lets create the required certificates for the lighthouse using: ./nebula-cert sign -name "lighthouse" -ip "192.168.100.1/24" . This generates a certificate called lighthouse.crt along with a corresponding key. The IP parameter specifies the subnet that this will be assigned, so in this case the lighthouse Nebula IP will be 192.168.100.1 .
Create /etc/nebula and move ca.crt , lighthouse-config.yml , and your lighthouse files to this directory. The default config uses this naming scheme:
   38  mv config-lighthouse.yaml /etc/nebula/config.yaml
   39  mv ca.crt /etc/nebula/ca.crt
   40  mv lighthouse.crt /etc/nebula/host.crt
   41  mv lighthouse.key /etc/nebula/host.key
For lighthouse hosts only, the following settings are required to be set in the config to function:
 26 # Example, if your lighthouse has the nebula IP of 192.168.100.1 and has the real ip address of 100.64.22.11 and runs on port 4242:
 27 static_host_map:
 # This needs to be empty for lighthouse node
<SNIPPED>
 43 lighthouse:
 44   # am_lighthouse is used to enable lighthouse functionality for a node. This should ONLY be true on nodes
 45   # you have configured to be lighthouses in your network
 46   am_lighthouse: true # <--- Set this to true
<SNIPPED>
# To make things easy for initial testing, set all allowed inbound/outbound
392   outbound:
393     # Allow all outbound traffic from this node
394     - port: any
395       proto: any
396       host: any
397
398   inbound:
399     # Allow all inbound traffic to this node
400     - port: any
401       proto: any
402       host: any
For now we will set all traffic allowed but I encourage you to play with the built in firewall functionality to really see the benefit of having granular control over the network traffic along with the ability to setup security groups.
Next we will create the config files for some of our hosts we plan to add to the network. We do this the same exact way, example being ./nebula-cert sign -name "Ludus" -ip "192.168.100.3/24" -groups "Ludus" . This will create the files for our Ludus host which will be assigned the IP 192.168.100.3 . The main difference for host config files is setting your routable lighthouse IP like so:
# The static host map defines a set of hosts with fixed IP addresses on the internet (or any network).
# A host can have multiple fixed IP addresses defined here, and nebula will try each when establishing a tunnel.
# The syntax is:
#   "{nebula ip}": ["{routable ip/dns name}:{routable port}"]
# Example, if your lighthouse has the nebula IP of 192.168.100.1 and has the real ip address of 100.64.22.11 and runs on port 4242:
static_host_map:
  "192.168.100.1": ["LIGHTHOUSE_PUBLIC_IP:4242"]

# Also will want to set all inbound/outbound for testing. Change later and restart the Nebula service to update the config
    outbound:
    # Allow all outbound traffic from this node
    - port: any
      proto: any
      host: any

  inbound:
    - port: any
      proto: any
      host: any
You'll do this process for every host you want to join the network and can reuse or adjust the config file as needed. For example for my Ludus host, the following files are present under /etc/nebula:
ludus-admin@ludus:~$ ls /etc/nebula/
ca.crt  config.yaml  host.crt  host.key
Once you have your hosts and lighthouse server ready, time to test this out! Run ./nebula -config /etc/nebula/config.yaml on the Ludus server and the Lighthouse server. You should see something like this:


Perfect, our Ludus server is talking to the lighthouse server and you may have noticed my Mac called back as well. But can we actually talk to the Ludus server?
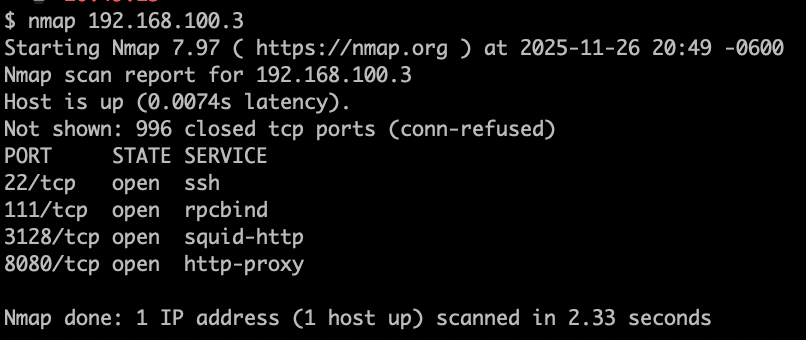
Looks like we can. You may be going "But Ludus runs off WireGuard, so how am I supposed to talk to my actual labs?". Great question and the easy solution is simply adjusting your user's WG conf file to point to the IP of the Ludus host on the Nebula network. I copied my local conf file and simply created a new ludus_nebula.conf file next to it.

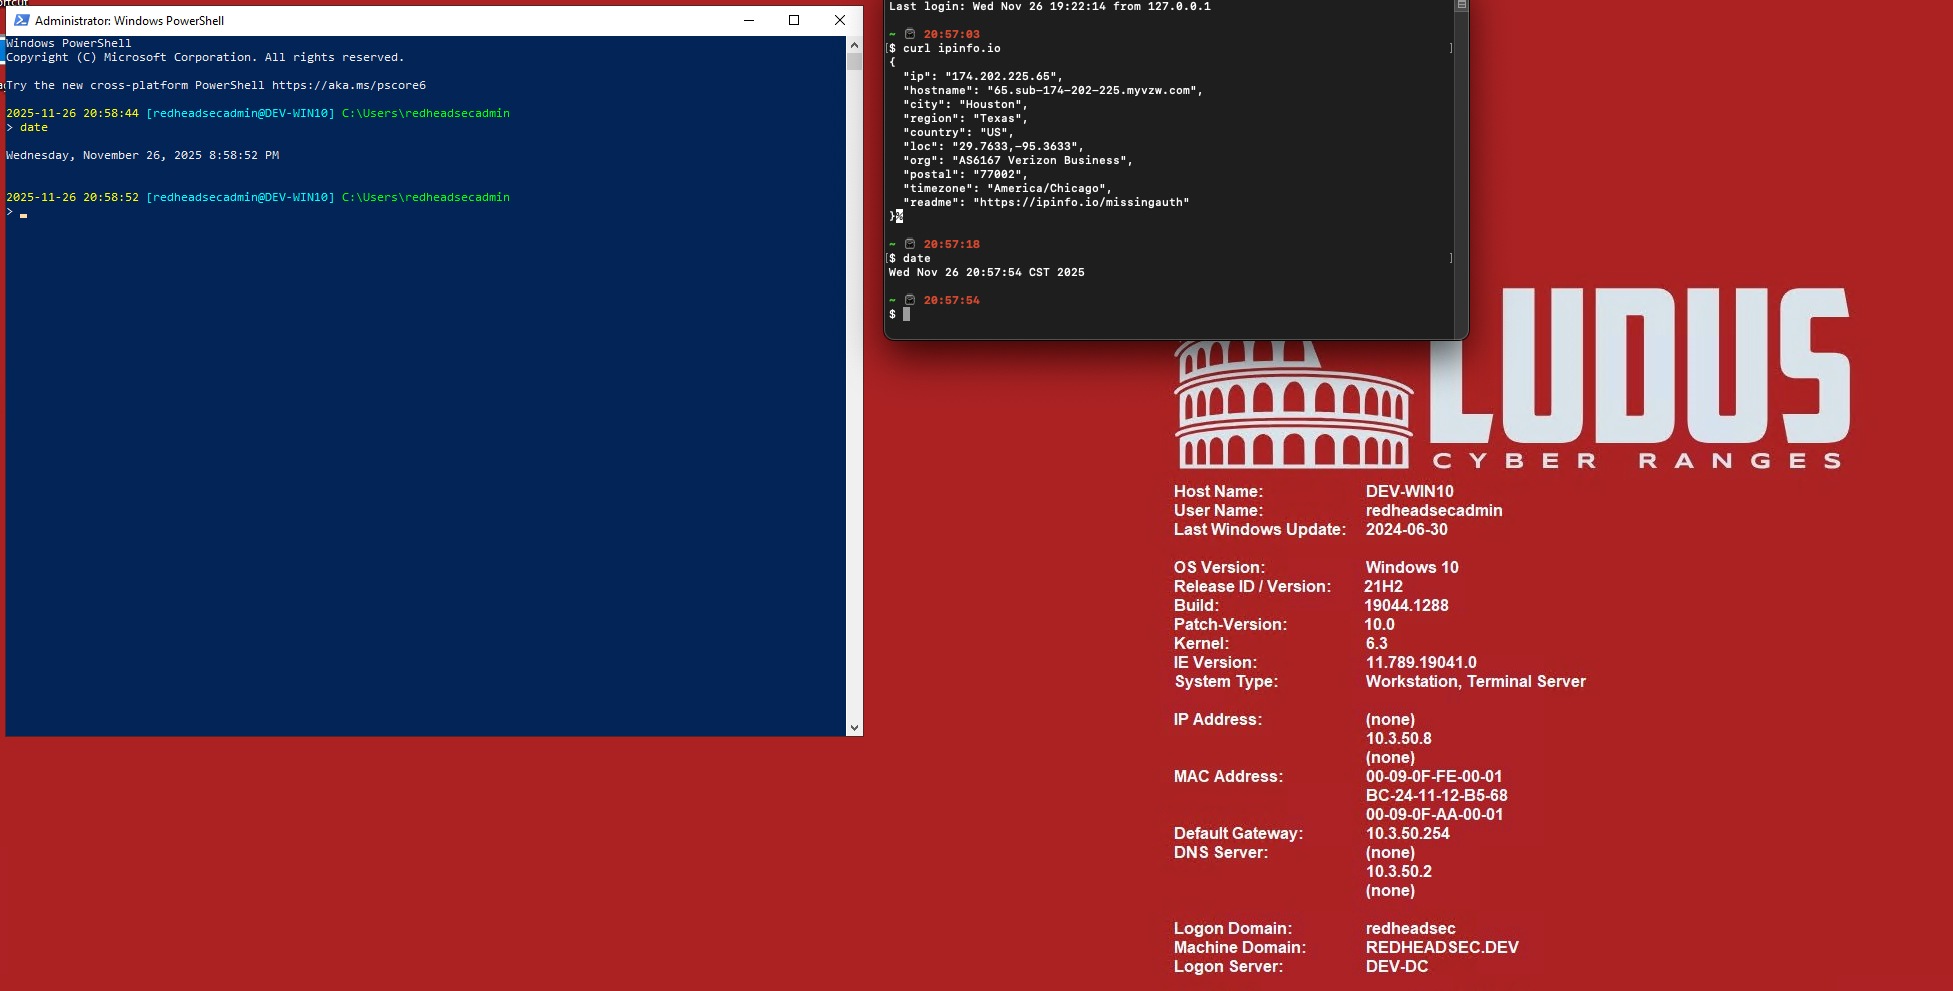
Now its just a simple sudo wg-quick up /path/to/wireguard/ludus_nebula.conf and that's it. No really, that is it. You can now access your configured labs just as if you were sitting on the same network. Best part is you can sit there and switch from Wifi, hotspot, etc as much as you want and it will continue to just work. Its like magic I say! Here is an example of running my Mac off my hotspot with Wifi turned off, so using a local Verizon IP address and still accessing one of my Windows 10 development boxes. Now I can tinker even while on vacation! I'm sure the wife will love it...
Now take it a step further and make it a service or alias on your hosts. For instance on the lighthouse, use the following:
└─# cat /etc/systemd/system/nebula.service;
[Unit]
Description=Nebula Mesh Network
Wants=network-online.target
After=network-online.target

[Service]
Type=simple
ExecStart=/path/to/nebula -config /etc/nebula/config.yaml
Restart=on-failure
RestartSec=5

[Install]
WantedBy=multi-user.target
Service Config
   sudo systemctl daemon-reload
   sudo systemctl enable --now nebula
sudo systemctl status nebula 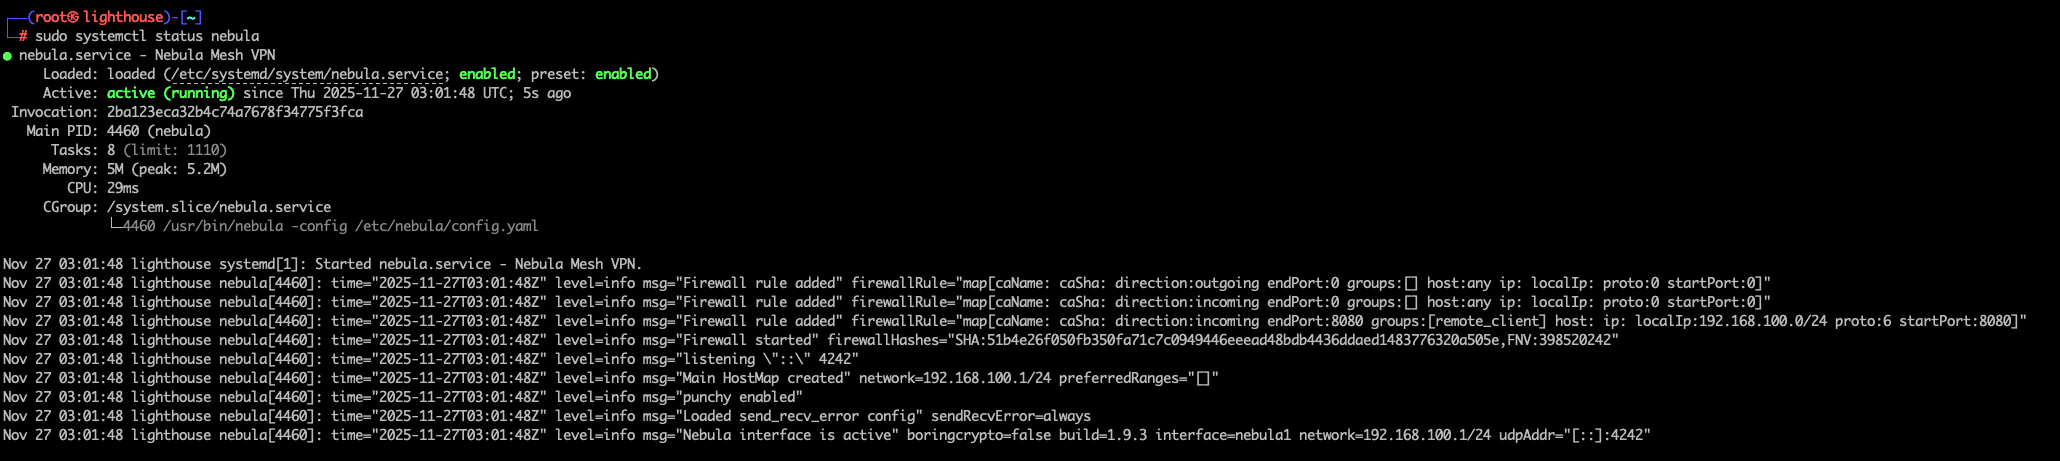
Now your Nebula service will always be running and waiting for your connection on the go. Now is the time to go and play with some of the awesome settings found within the config files. To reload the service, simply run sudo systemctl reload nebula or manually via the PID sudo kill -HUP $(pgrep nebula) .
The final product?

Hopefully this has inspired you to take Ludus on the road and see what other use cases can be achieved with this amazing software.
Till next time, farewell and happy hacking!

If one of my articles has benefited you, feel free to support me via my Patreon.